The 1974 Suzuki TC100
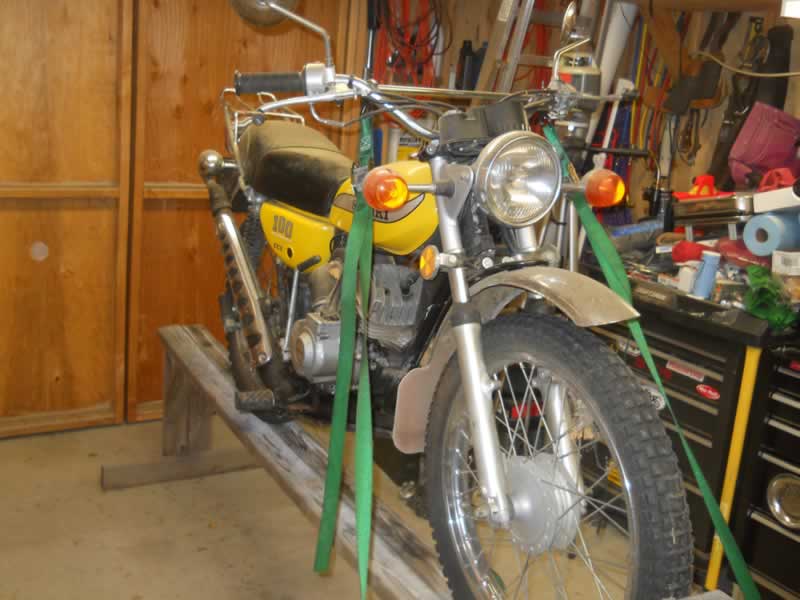
My father purchased a 1974 Suzuki TC100 when I was about 5 years old. It was
the 2nd motorcycle my father had owned and it was street legal, complete with
turn signals, mirrors, head light, and tail light.
This motorcycle is a bit centimental to myself and my family. My father got
his motorcycle endorsement on it, my brother got his endorsement, and I got
my endorsement as well.
Also, my brother and I both took this motorcycle out for rides without our father
knowing, my girlfriend (now wife) and I ran all over town in our teen years
as well.
The Suzuki TC100 served my family well, and about 2007 my father
gave it to me. It had some transmission problems and when I drained the gear
box oil, there was an awful lot of aluminum in the oil. I purchased a Kawasaki
KLR 650 and the old TC100 got parked in the back of my shed late 2008.
The Suzuki sat parked in the back of the shed until late 2013
when my wife and I decided, lets see what it takes to get this running again.
The Rebuild
I had my shop/shed that I had
built two years prior to work on motorcycles during the winter. So late 2013
I pulled the Suzuki in the shop and started working on it. The goal was to find
out what the source of the major transmission problems was and fix it if it
was fixable.

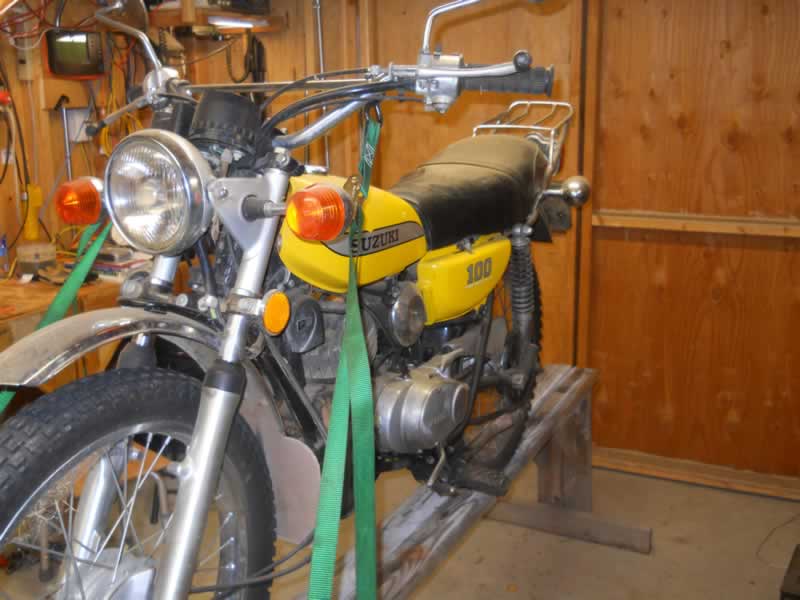
The Suzuki has not been parked for 5 years

The very first thing I noticed was the inside of the gas tank, full of rust.
To clean it, I ended up washing out the tank the best I could first with carb
cleaner, then the garden hose, and finally filling the tank with vinegar for
a week. I was impressed, the vinegar worked really well loosening up the rust.
The tank went from pure rust brown to almost clean silver color. The one thing
I didn't do was put sand or rocks or nuts in the tank and rattle it around to
get the loose stuff free. This would have saved me some trouble.
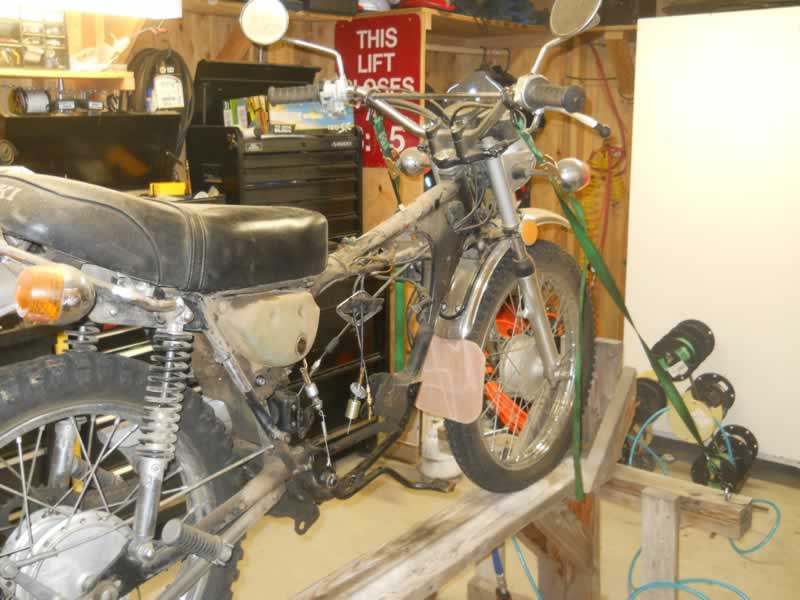
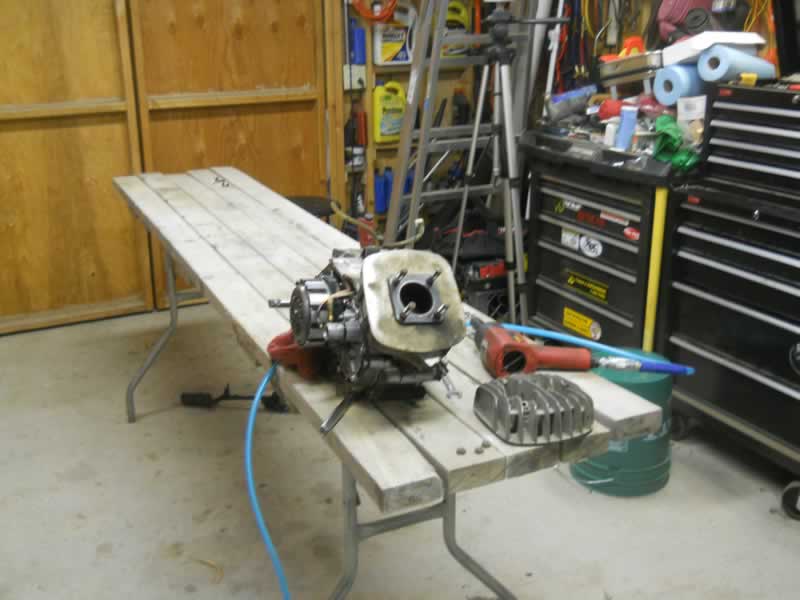
It didn't take long to get the engine out of the frame. When
I took the side cover off, there was an awful lot of aluminum and brass in the
oil, like an awful lot. I knew I was in for trouble.
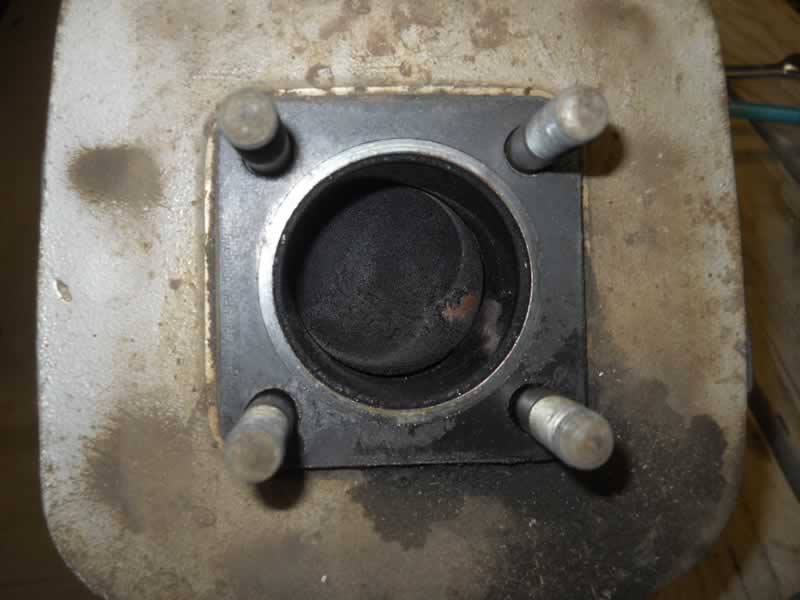
The first thing to gome off was the head. I did a compression test before taking
the motor out of the frame and it showed almost 140 PSI, so I didn't suspect
to find any trouble. There was a little bit of scaring but nothing to be worried
about.
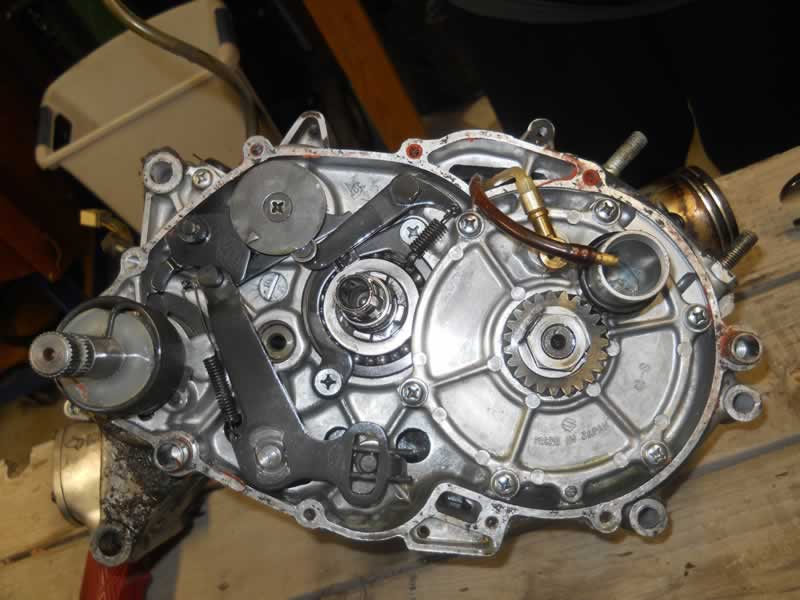
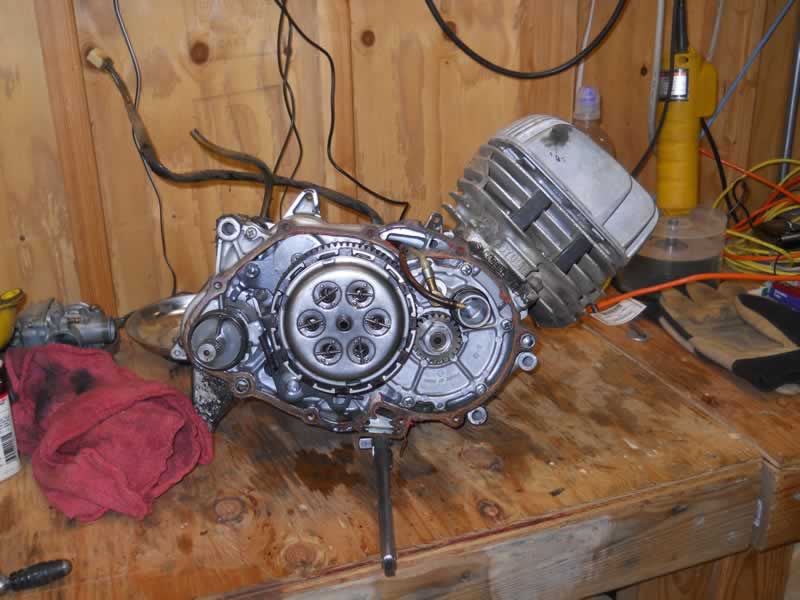
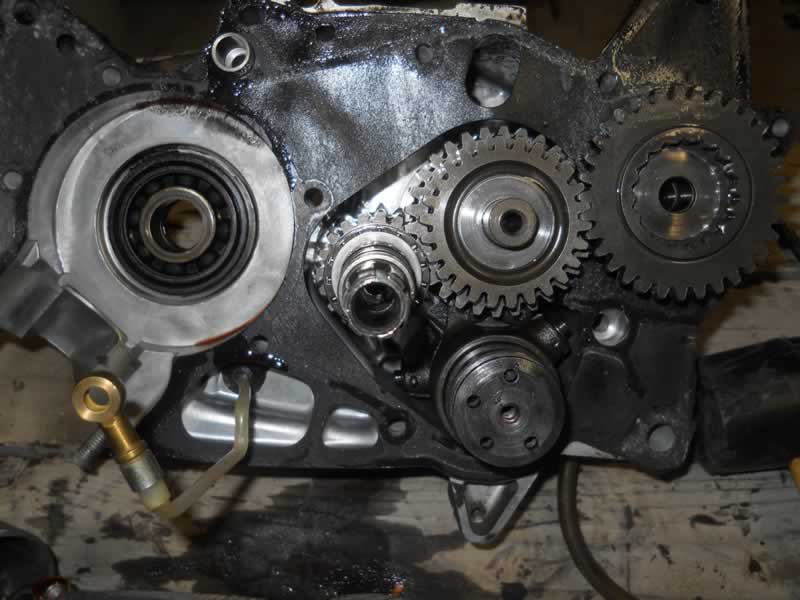
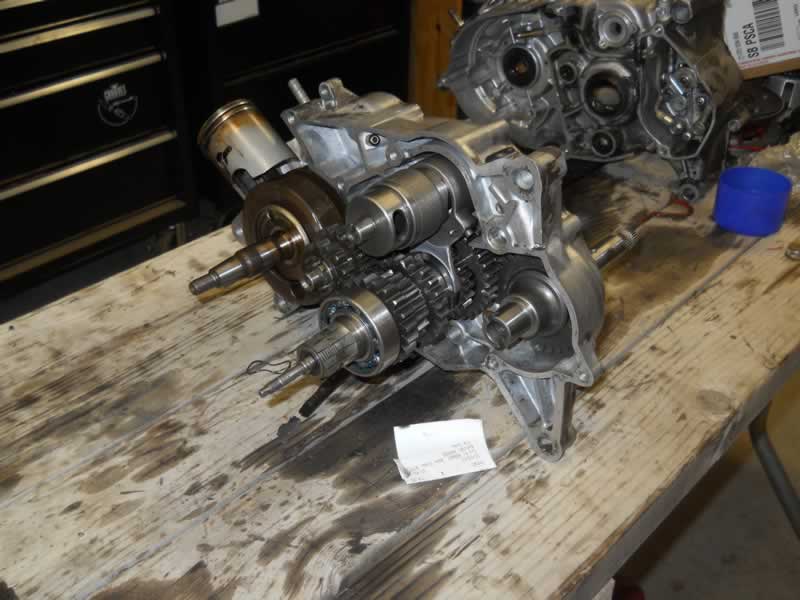
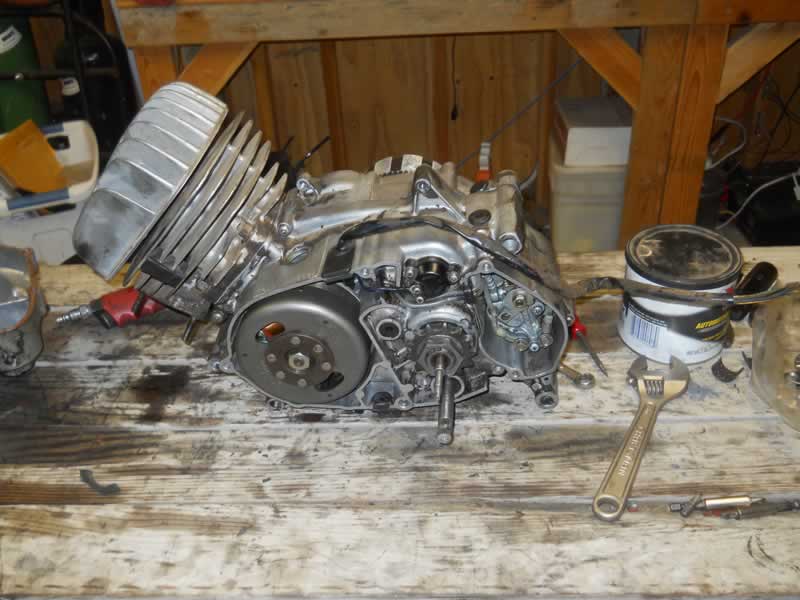
Dissassembly of the engine went pretty smoothly. Seems every part I took apart,
the more aluminum I would find. The picture in the right has the transmission
gears still in the case.

Once the engine was finally apart, at this point I still was unable to determine
what is wrong in the transmission.
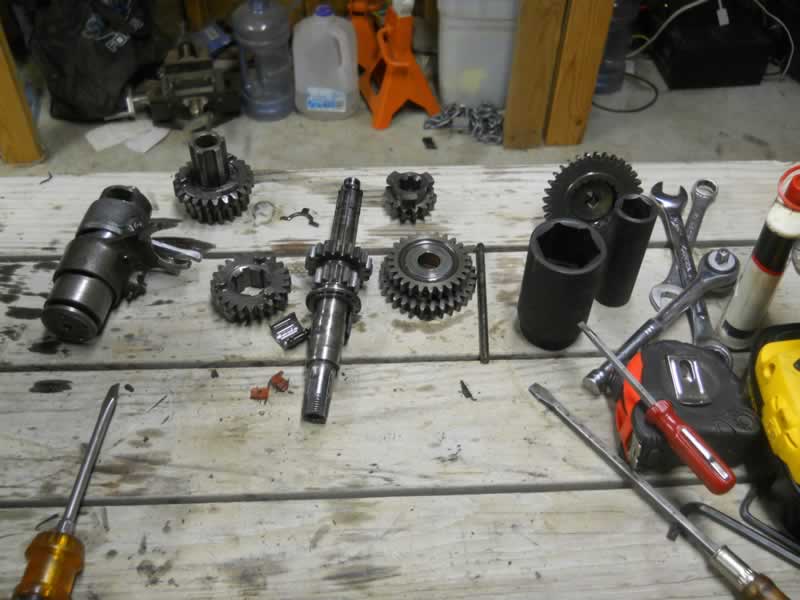
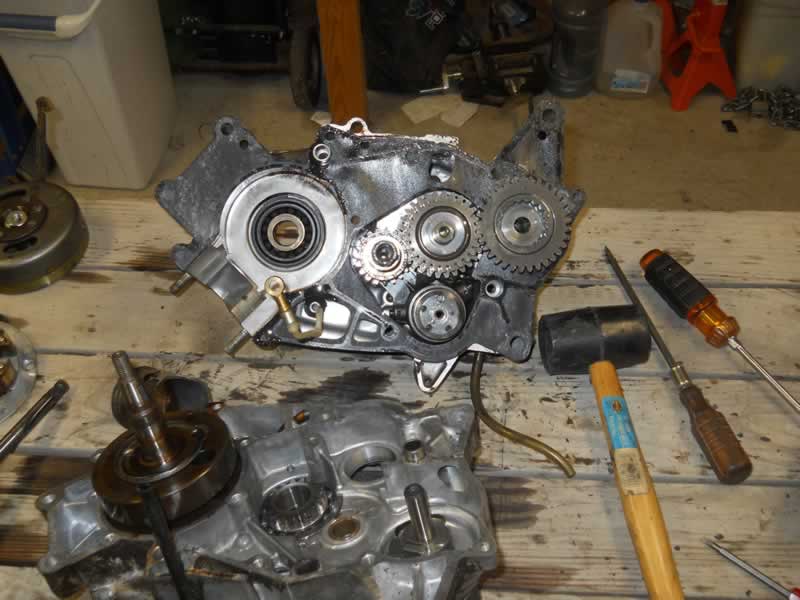
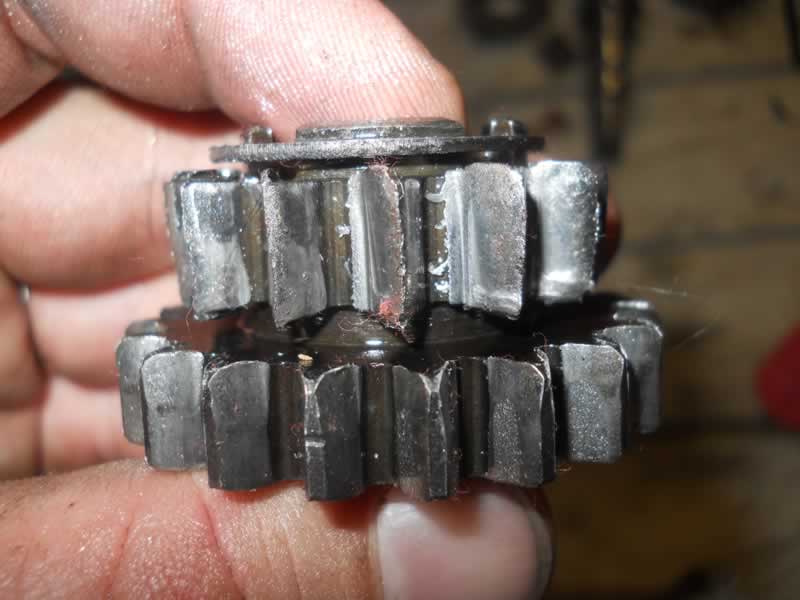
Once I got all of the individual gears out, it was very aparent the cause of
the problems.
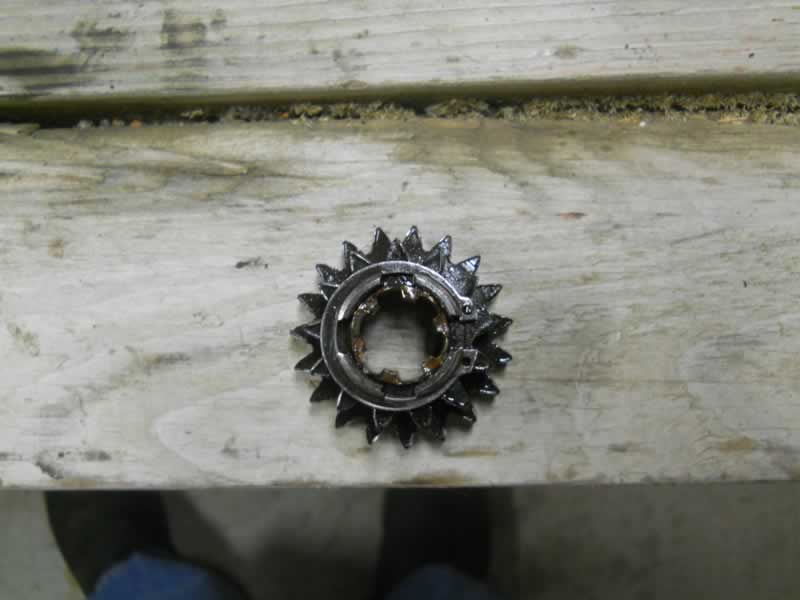
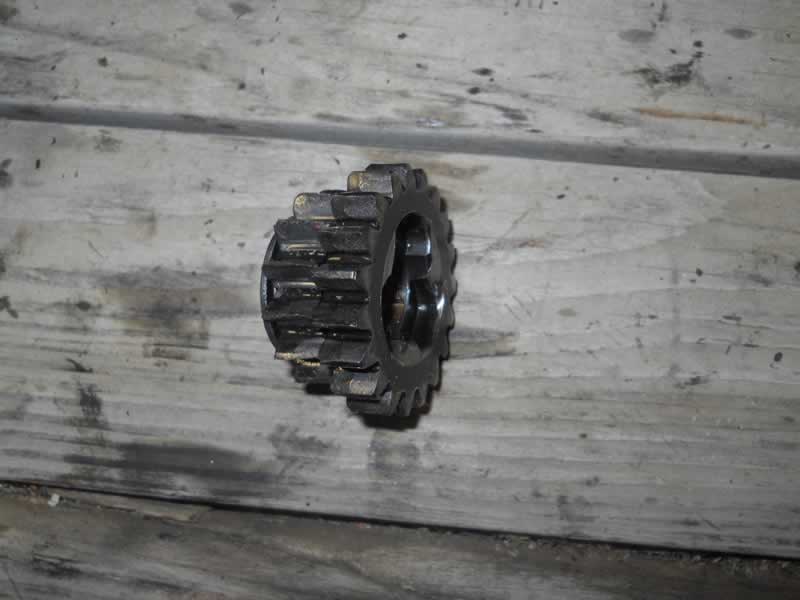
This is fourth gear, looks like the brass bushing started to deteriate and fail,
which caused the gear to not run straight and caused a lot of problems.
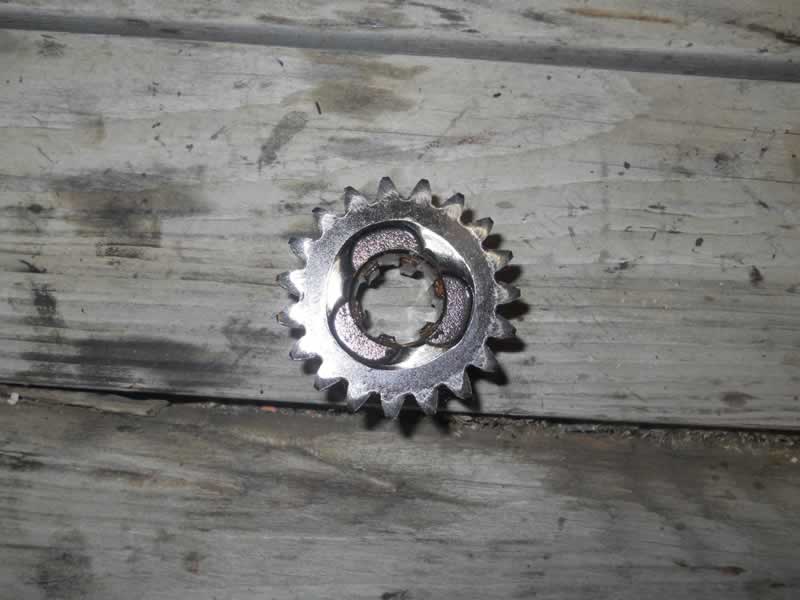
And this is the source of the cluminum, when the gear was not running straight,
it ate away at the aluminum casing.
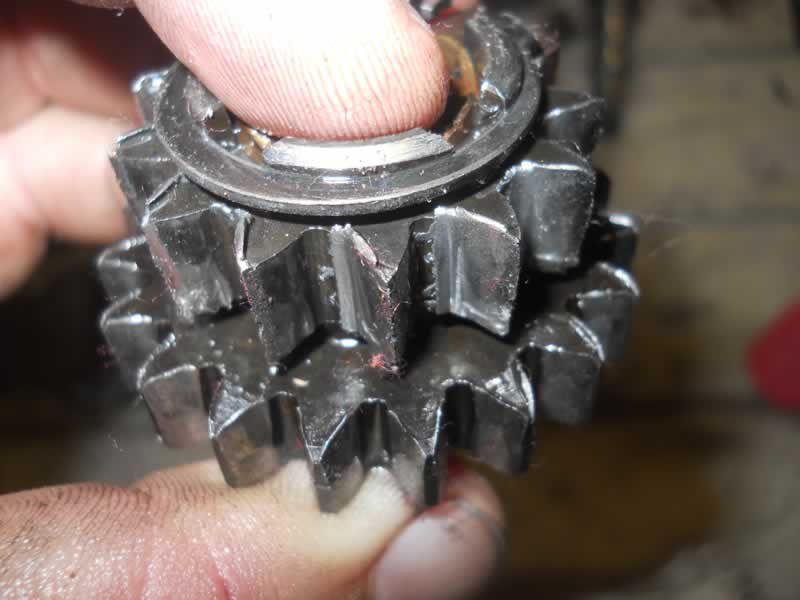
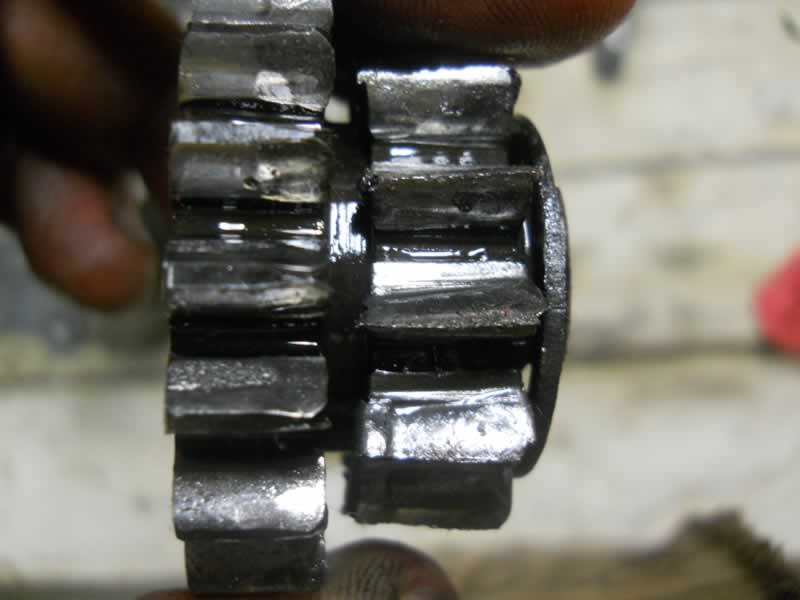
Above is a close up of the damage of 4th gear. I don't know what caused the
failure, but I need at least a new 4th gear before re-assembly. So I did some
searching on Ebay.
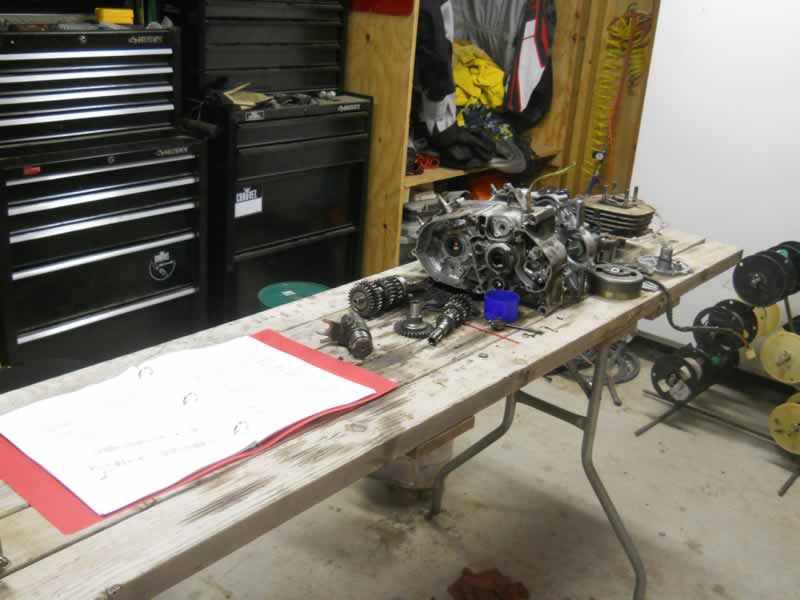
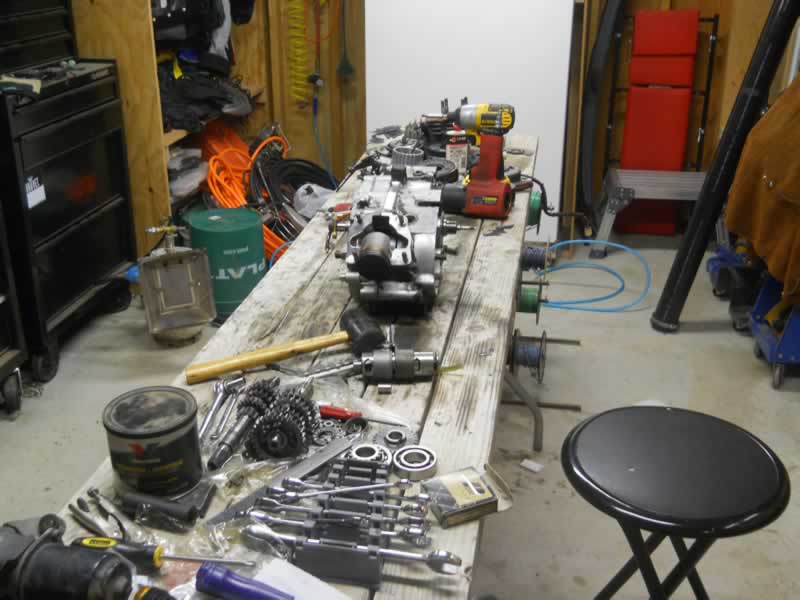
This is the mess of parts that sat in my shop until I found parts.
I was able to find someone parting out a TC100 on Ebay and was able to get the
entire gear assembly for $20 + shipping. This included all of the gears, the
input and output shafts, bearings, shifting drum, forks, and a couple other
related parts. Now to wait for them to arrive.
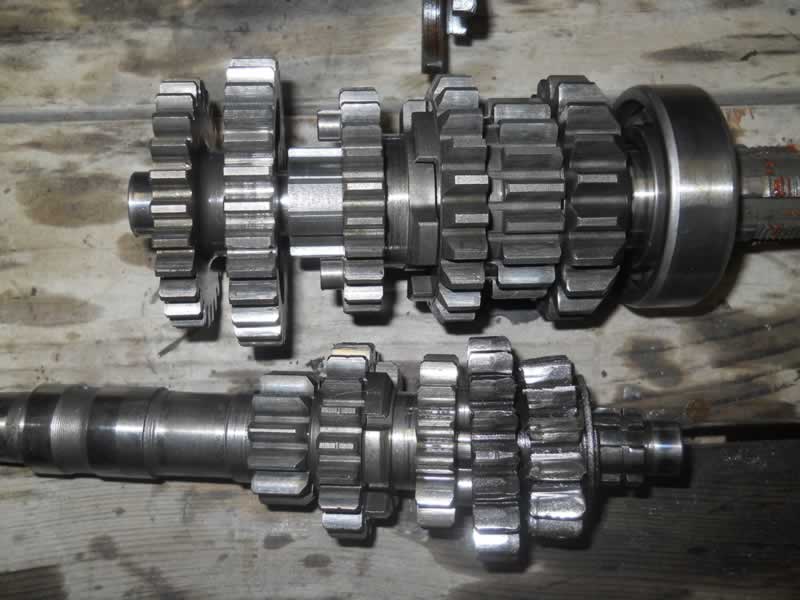
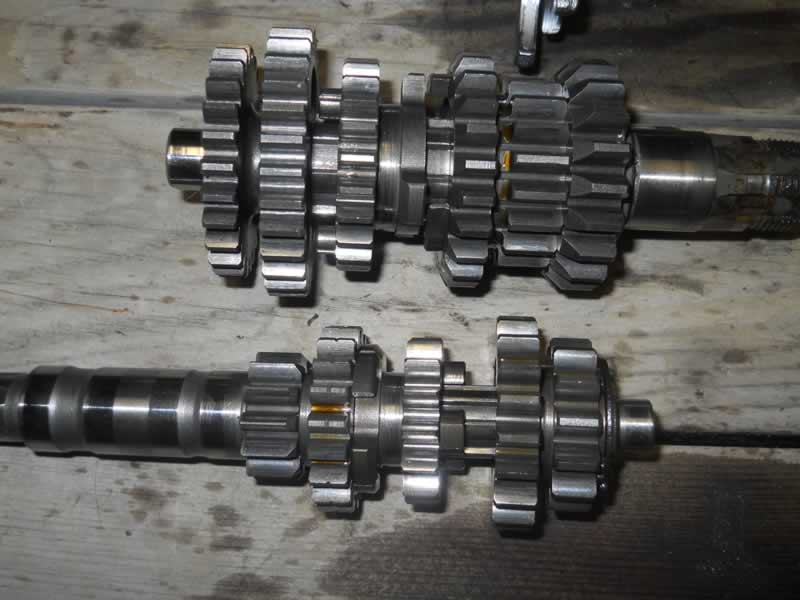
Pictured above is the old and the new transission assemblies. The new fourth
gear looks great. I also noticed the new gears are in a lot better shape. The
old shafts had about 1 mm of play on almost all of the gears. The new gears
had almost no play.
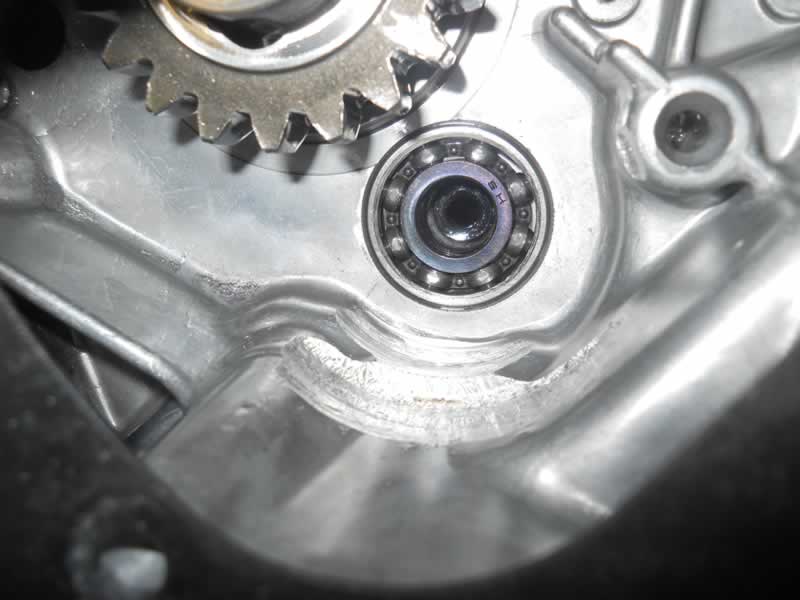
I decided to swap out all of the gears and shafts, and replace a couple of bearings.
There was a lot of aluminum in the oil and thought it would be best to replace
the bearings. They were only $3 each and in stock from the local dealer (JTI)

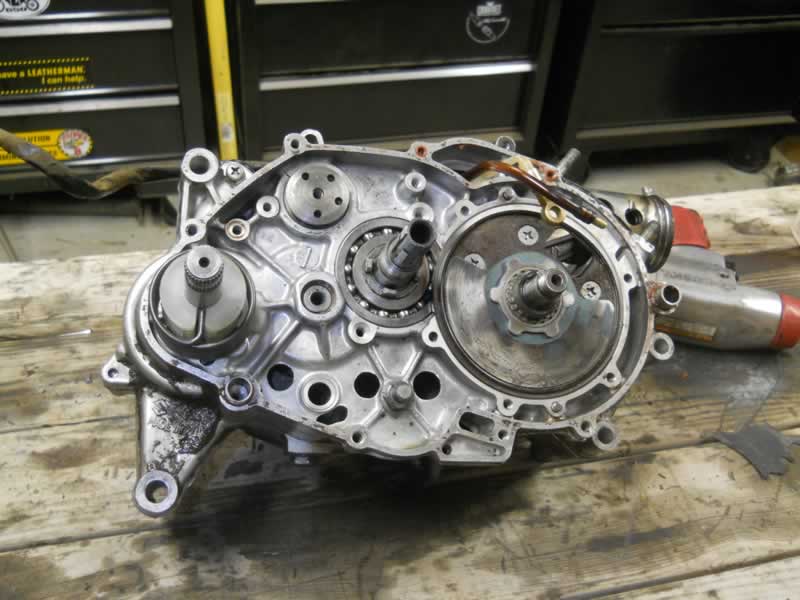
Assembling the transmission gears took a couple tries before I got it right.
Once it was assembled I started putting the cases back together.
It took a bit of trial and error, but I was able to get it assembled. If you
do this yourself - Warning, only use a rubber mallet when pushing the two halves
together.
I got the engine partially assembled. Not the "rotary valve" on the
right. First time I have ever seen this, its a disc that spins on the crank
of the engine to time the intake stroke. Its unique, but I imagine this is a
limiting factor of power on this engine.
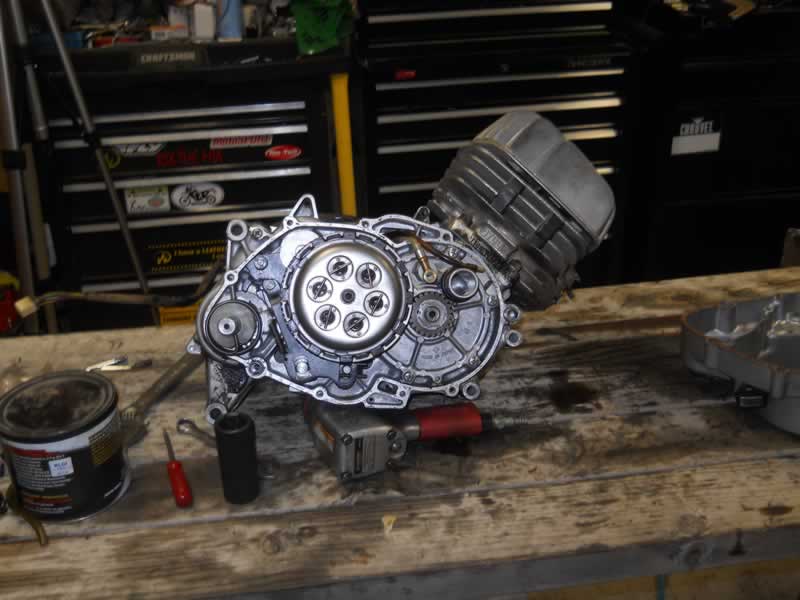
The engine after I got the gear changing assembly together and clutch. This
again took an entire evening to get this assembled. Getting the head back on
was easy.
Everything is buttoned up and ready for the side plates to go back on the engine.

The engine, ready to go back in the frame.
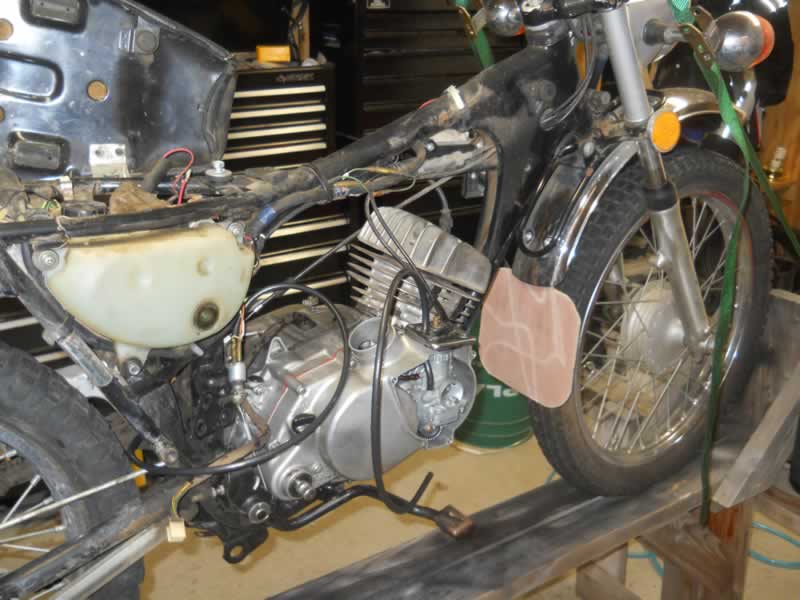
Engine in the frame, went in pretty smoothly
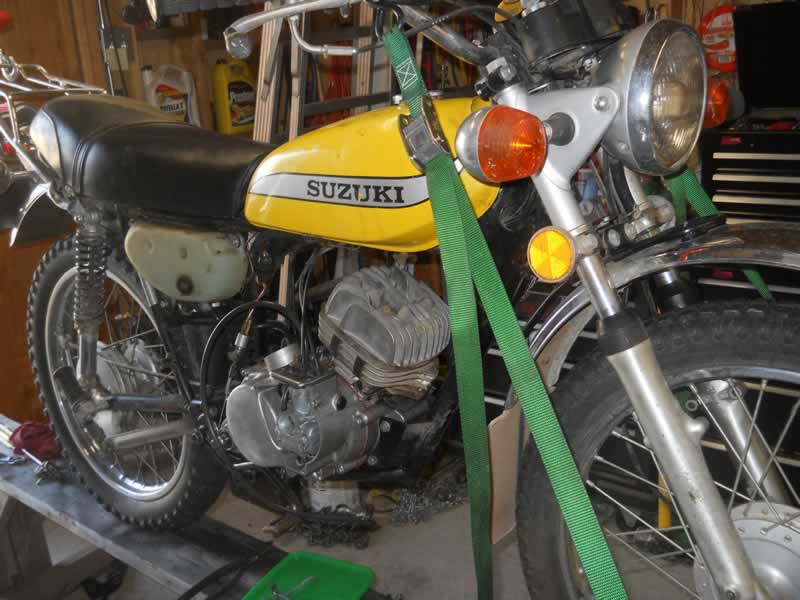

Slowly getting everything installed back on the bike. It was about this point
I discovered I did not assemble the spring on the kick starter correctly, so
it doesn't retract correctly

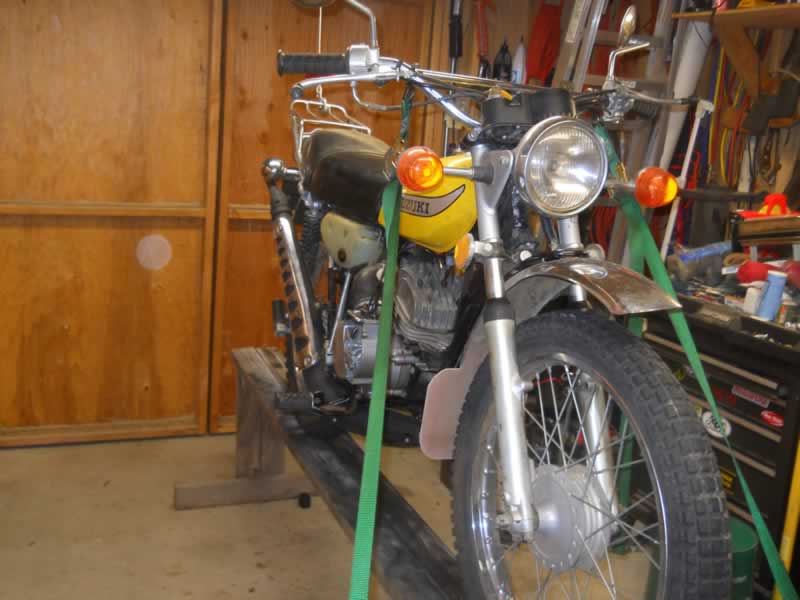
The bike is assembled, all it needs is gas in the tank.
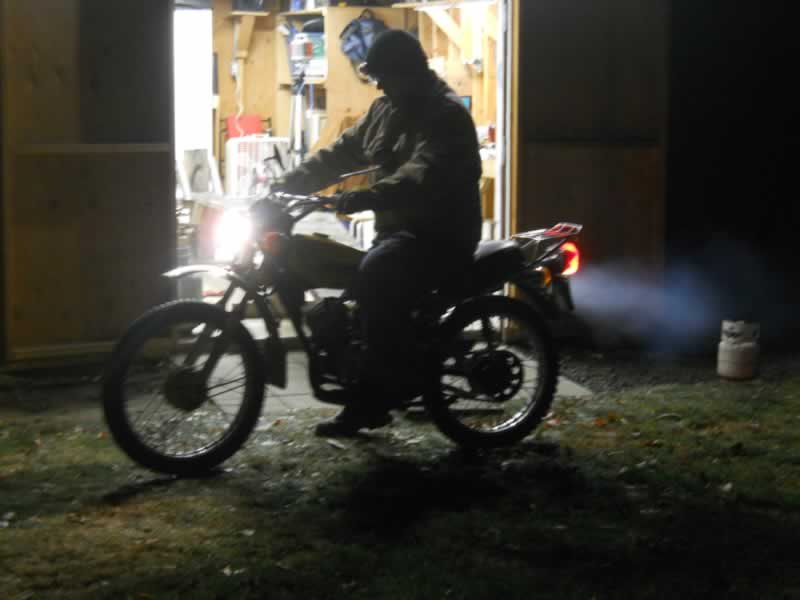
The old Suzuki started up on the 2nd kick, I was impressed.
Overall, I got the engine rebuilt and back together without
too much trouble, and proved to myself I can do this. I did have some problems,
I didn't have a flywheel puller and had to wait for that part to arrive after
ordering one off of Ebay. The throttle cable sticks, a fuel leak on the petcock,
and it doesn't have much a lot of power (I think its a fuel problem) I will
get these items fixed in the next couple of days, and then get the classic plates
this old bike is elgible for.